
Ash is one of those legends who immediately felt natural to me when she arrived in the Apex Games. I’ve been playing her since her debut way back in Season 11, and even now in 2026, she remains a staple in my rotation. Her kit rewards patience and map awareness, but even if you just pick her up for a few matches, she can teach you a lot about positioning and information control.

Today I want to share some of the things I’ve learned over the years with Ash. Some of these tips come from my own trial and error, others from watching high-level squads dominate ranked lobbies. Whether you’re new to her or looking to refine your play, there’s something here for you.
Marked For Death: Information Is Power
The passive ability Marked For Death is what initially drew me to Ash. It changes the way I approach fights because it removes a huge chunk of guesswork. When you come across a death box—whether it belonged to an enemy or a teammate—you can scan it to track the surviving members of the squad that got the kill. The game pings their approximate location, but keep in mind they get a warning that they’ve been located, much like a Bloodhound scan. I’ve learned to use that warning as part of the mind game. Sometimes the enemy panics and makes a mistake the moment they know they’ve been tracked.
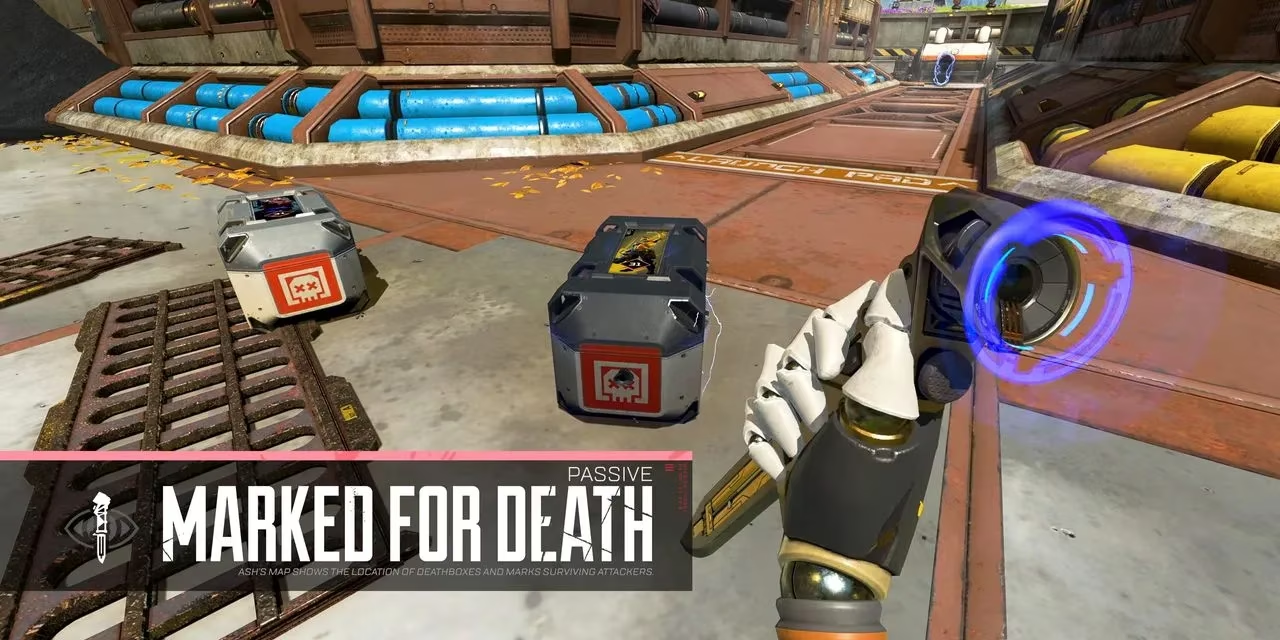
What surprised me most is that this works on friendly death boxes too. If your teammate goes down while scouting ahead, you can scan their box and immediately learn where the hostile squad is lurking. That intel has saved my team more times than I can count. Just be ready to act fast because the information is only live for a moment.
Using the Map Like a Pro
Opening Ash’s map feels different compared to other legends. She sees death box locations from the last few minutes scattered across the entire map. I always check it when we’re deciding rotations. Knowing where someone died recently tells you where a fight happened, and where the winning squad likely still is. If a death box appears near a choke point outside the next ring, I’ll often suggest an ambush. Enemies pushing through a narrow pass while low on health are easy prey.
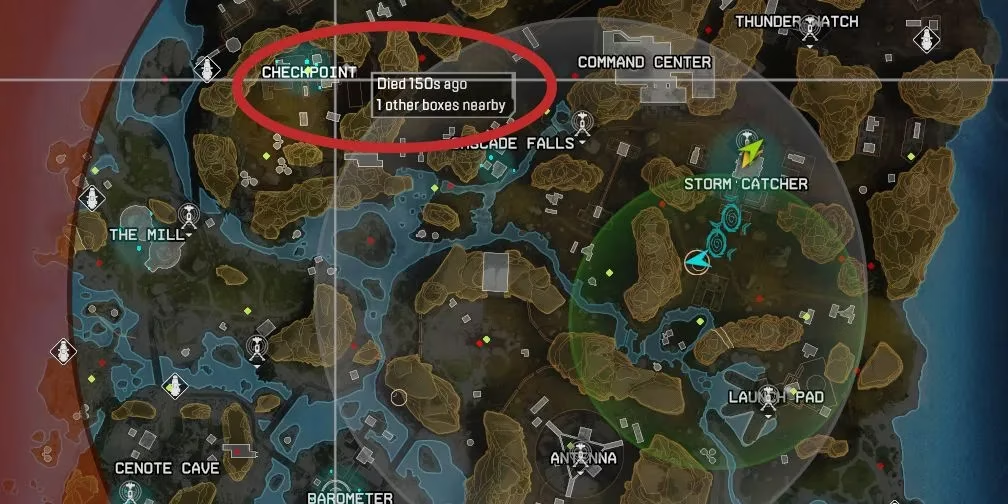
Hovering over a death box on the map also shows how long ago that player died. If it’s been only a few seconds and we’re nearby, that’s my cue to sprint over for a quick third-party. The victorious squad is usually looting or reviving, completely unaware that another team is closing in. Those moments feel unfair, but they win games.
Arc Snare: More Than Just a Tether
The tactical ability Arc Snare is easy to overlook because the damage is minor and the tether lasts only about three seconds. But I’ve gotten far more value out of its area denial potential than its direct damage. The snare stays on the ground for roughly eight seconds, and that’s a long time in an Apex firefight. If you throw it in front of a doorway, most players simply won’t push through it. They know being tethered makes them an easy target.
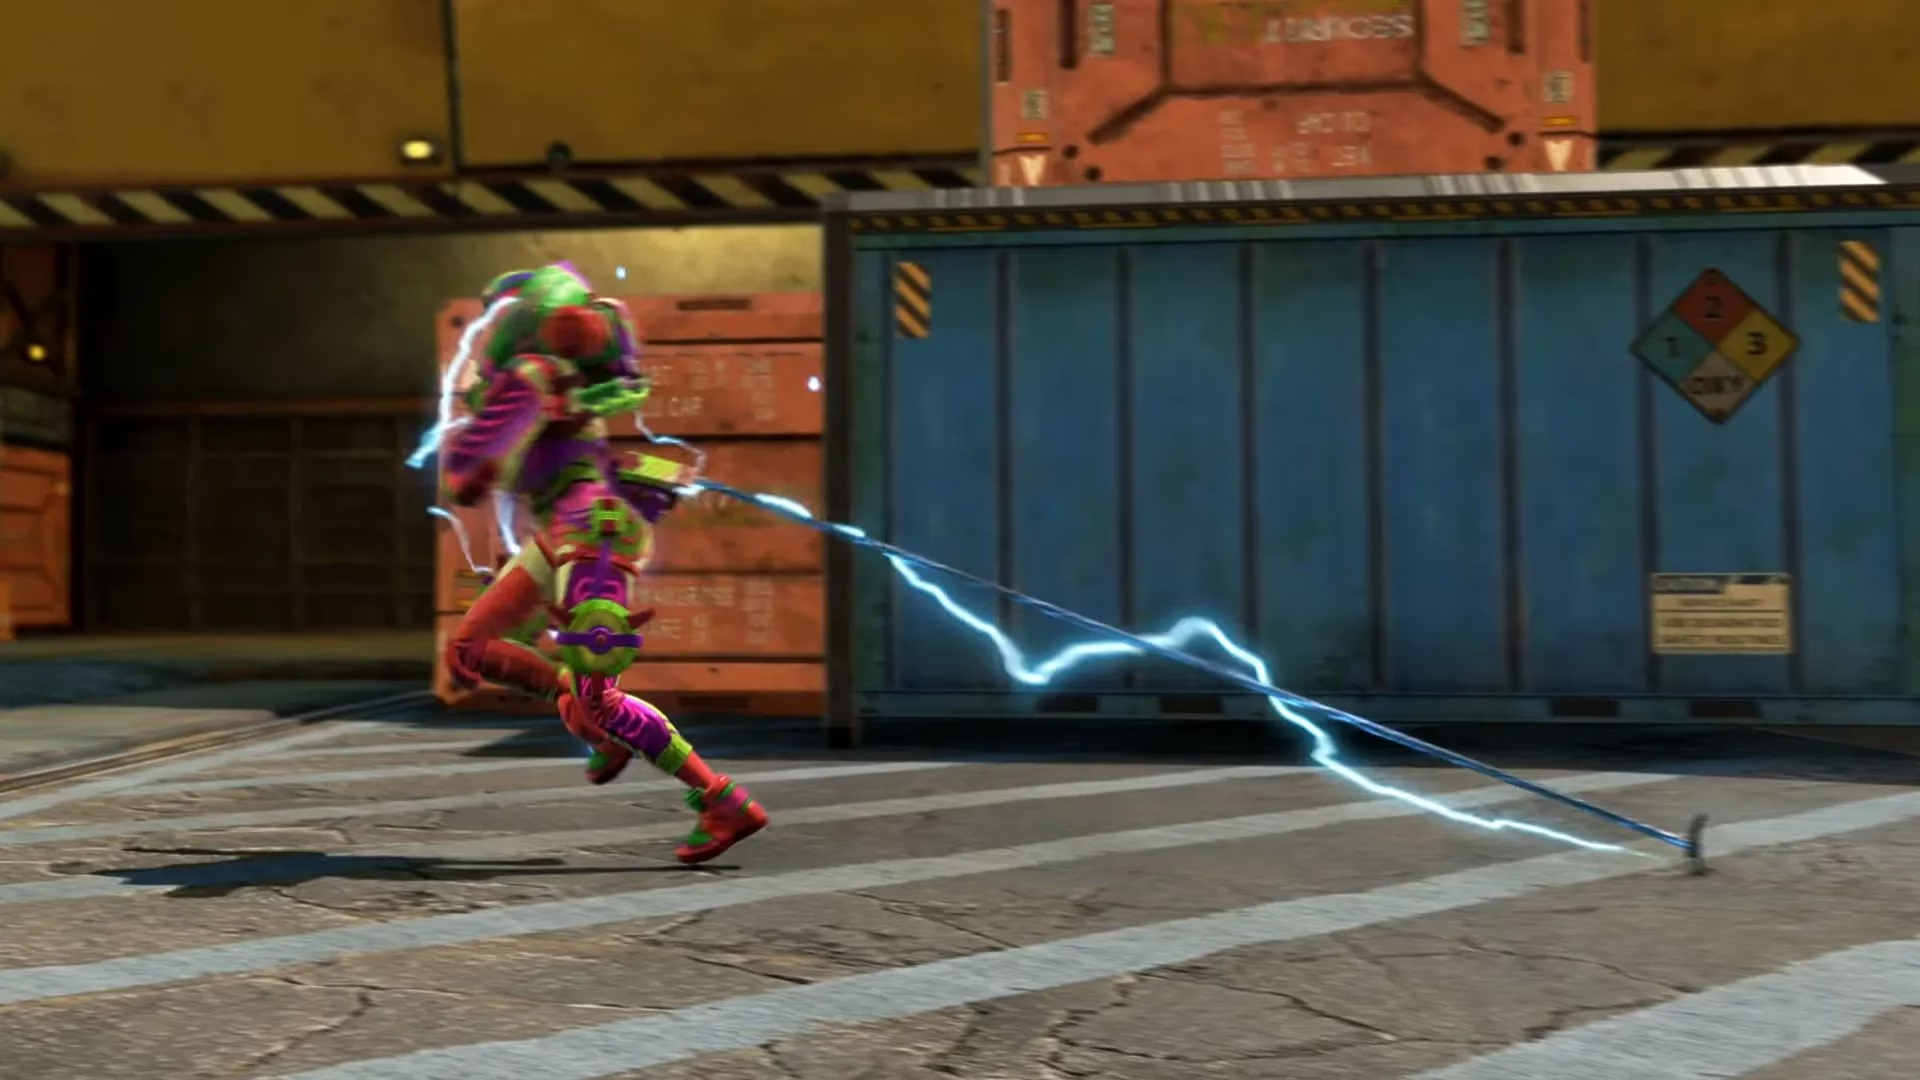
I’ve used this trick while healing behind a door, reloading a weapon, or buying time for my squad to rotate away. It also works extremely well on Storm Point around the large gates near the area players call Jurassic Park. Blocking one of those gates can completely cut off an enemy team’s rotation into a new point of interest. Sometimes the best damage is no damage at all—just making the enemy stand still and think twice.
Phase Breach: One-Way Ticket to an Advantage
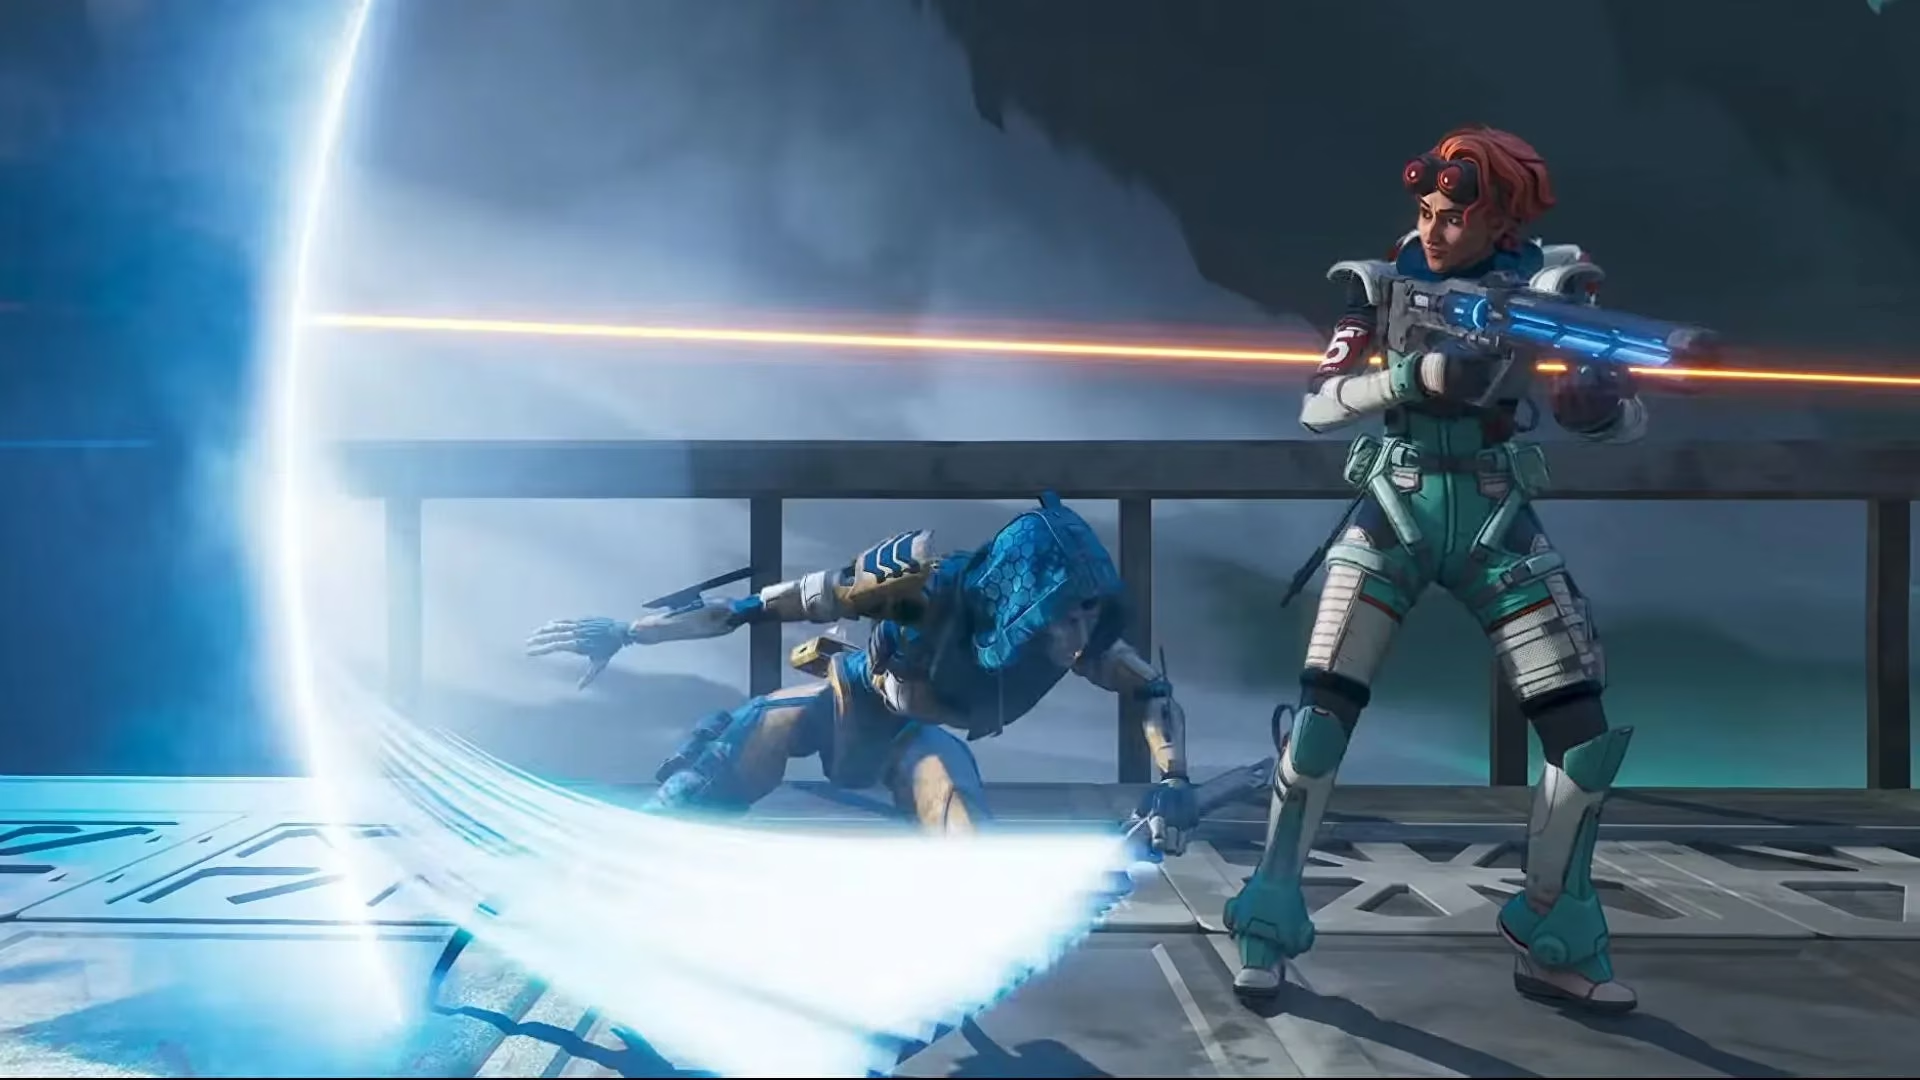
Ash’s ultimate Phase Breach is a teleport that works very differently from Wraith’s portals. You cannot travel backwards through it. Once you step through, you’re committed. That tradeoff used to frustrate me until I realized the strength of instant repositioning. Wraith has to physically run to place her portals, but Ash can throw a rift across a gap in a split second. In a game where milliseconds matter, that speed is priceless.
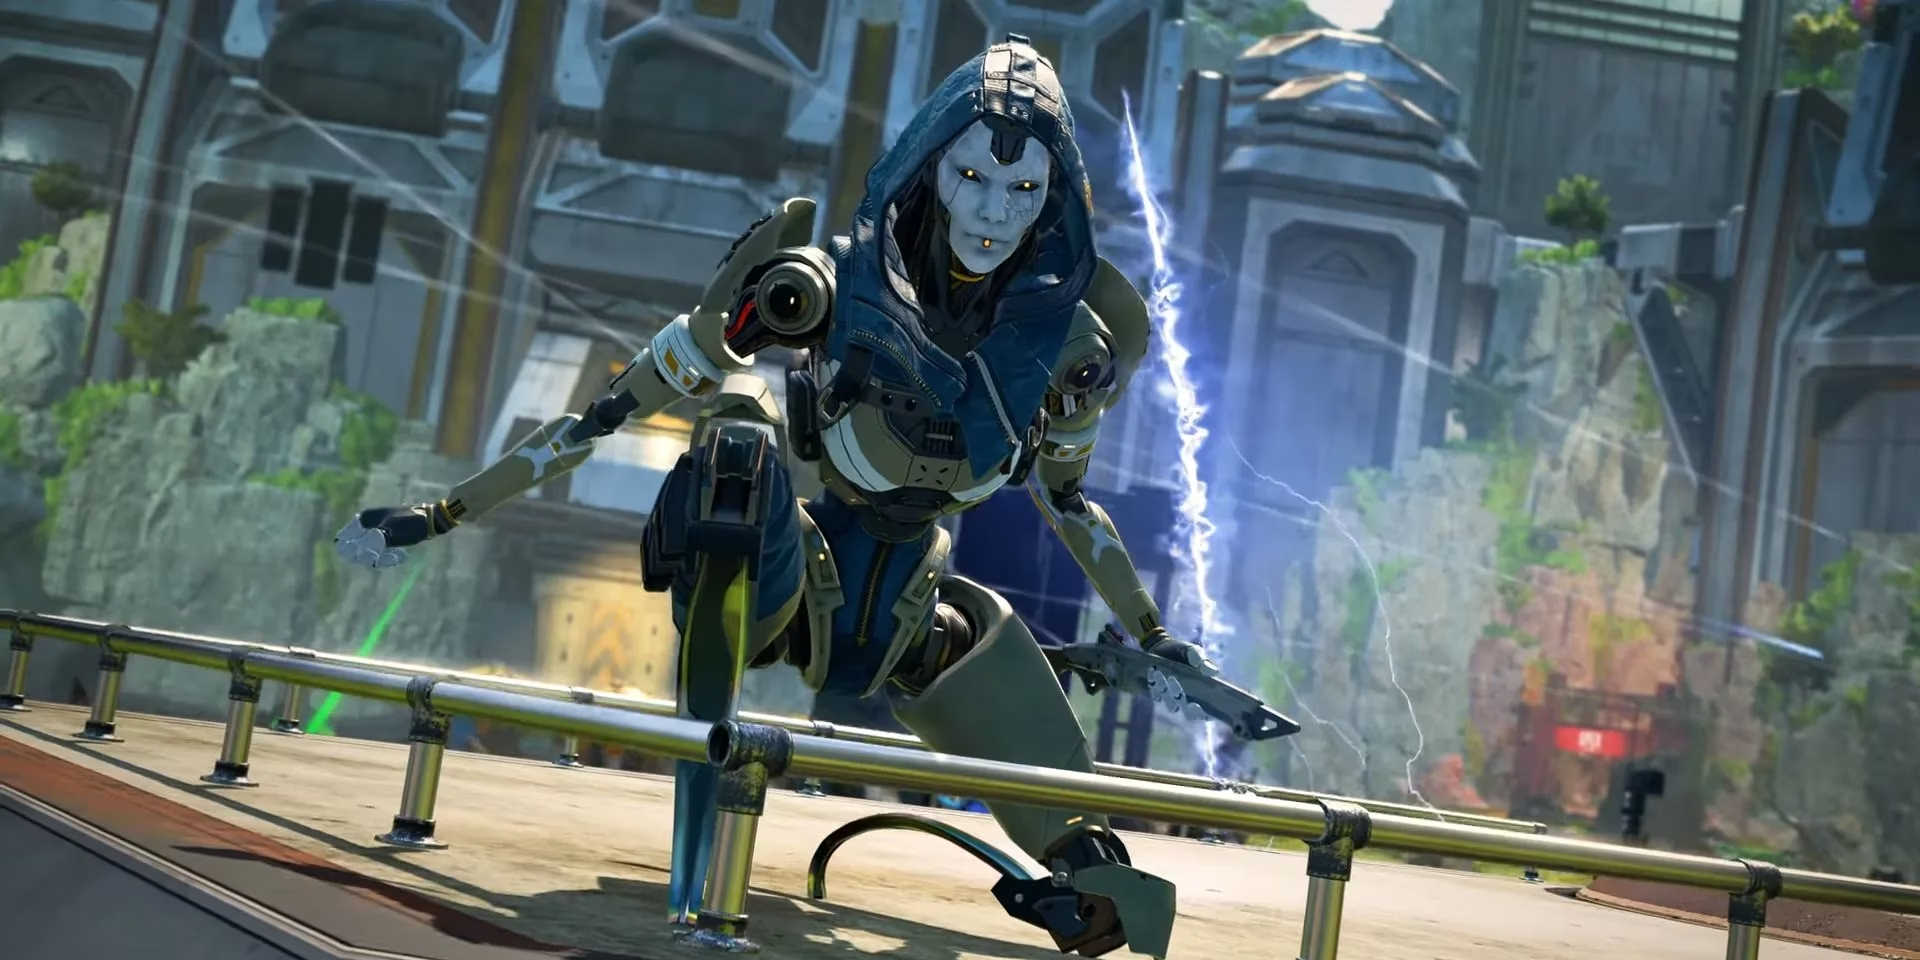
One trick I leaned heavily on is aiming the port upwards rather than straight ahead. Ground-level teleports are fine for escaping, but aiming at high ground turns Ash into a budget Valkyrie. You can reach the top of Fragment’s skyscrapers on World’s Edge, though you need to be careful about the out-of-bounds timer. Spend more than 15 seconds outside the playable area and the game will down you regardless of health. Still, getting onto a roof that other legends can’t access is a massive advantage during final rings. I’ve won several endgames simply by porting to a chimney or ledge that no one expected me to reach.
When to Save and When to Spend
It is tempting to use Phase Breach every time it charges just to travel faster. I fell into that trap for a long time. But saving it for critical moments is almost always better. During a losing fight, a well-timed port behind cover lets you heal and reset. During a winning fight, you can port behind the enemy line to flank them while your squad pushes the front. The unpredictability is what makes Ash dangerous.
There are niche uses outside combat too. Recovering a banner that is about to expire, outrunning the ring after a bad rotation, or grabbing high ground before a fight starts. I try to keep a mental checklist before spending the ultimate: Will this save someone? Will this gain a position that wins the next fight? If the answer is no, I hold it.
Combining With Other Movement Legends
One of the most satisfying things in Apex is chaining movement ultimates. Ash’s Phase Breach pairs beautifully with Pathfinder’s zipline, Octane’s jump pad, and Valkyrie’s Skyward Dive. When our squad coordinates properly, we can cover distances that seem impossible. I remember one match where we rotated all the way from Fragment to Harvester on World’s Edge in a single coordinated push using a zipline into my portal. No enemy squad saw it coming.

Communication is non-negotiable for these team plays. You have to announce your portal placement and make sure everyone knows where it leads. When it works, though, it is the kind of highlight reel play that keeps me coming back to Apex year after year.
In the end, Ash is more than just a stylish simulacrum. She is a legend built for players who enjoy controlling the flow of information and space. Give her a real chance, spend some time with the map feature, and you might find that her toolkit changes how you think about every other legend in the game.
This overview is based on coverage from Polygon, and it reinforces how Ash’s value often comes from tempo control rather than raw damage—turning her death box intel into decisive rotations, using Arc Snare to stall pushes and protect heals, and treating Phase Breach as a commitment tool for instant high-ground takes or surgical flanks instead of casual travel.